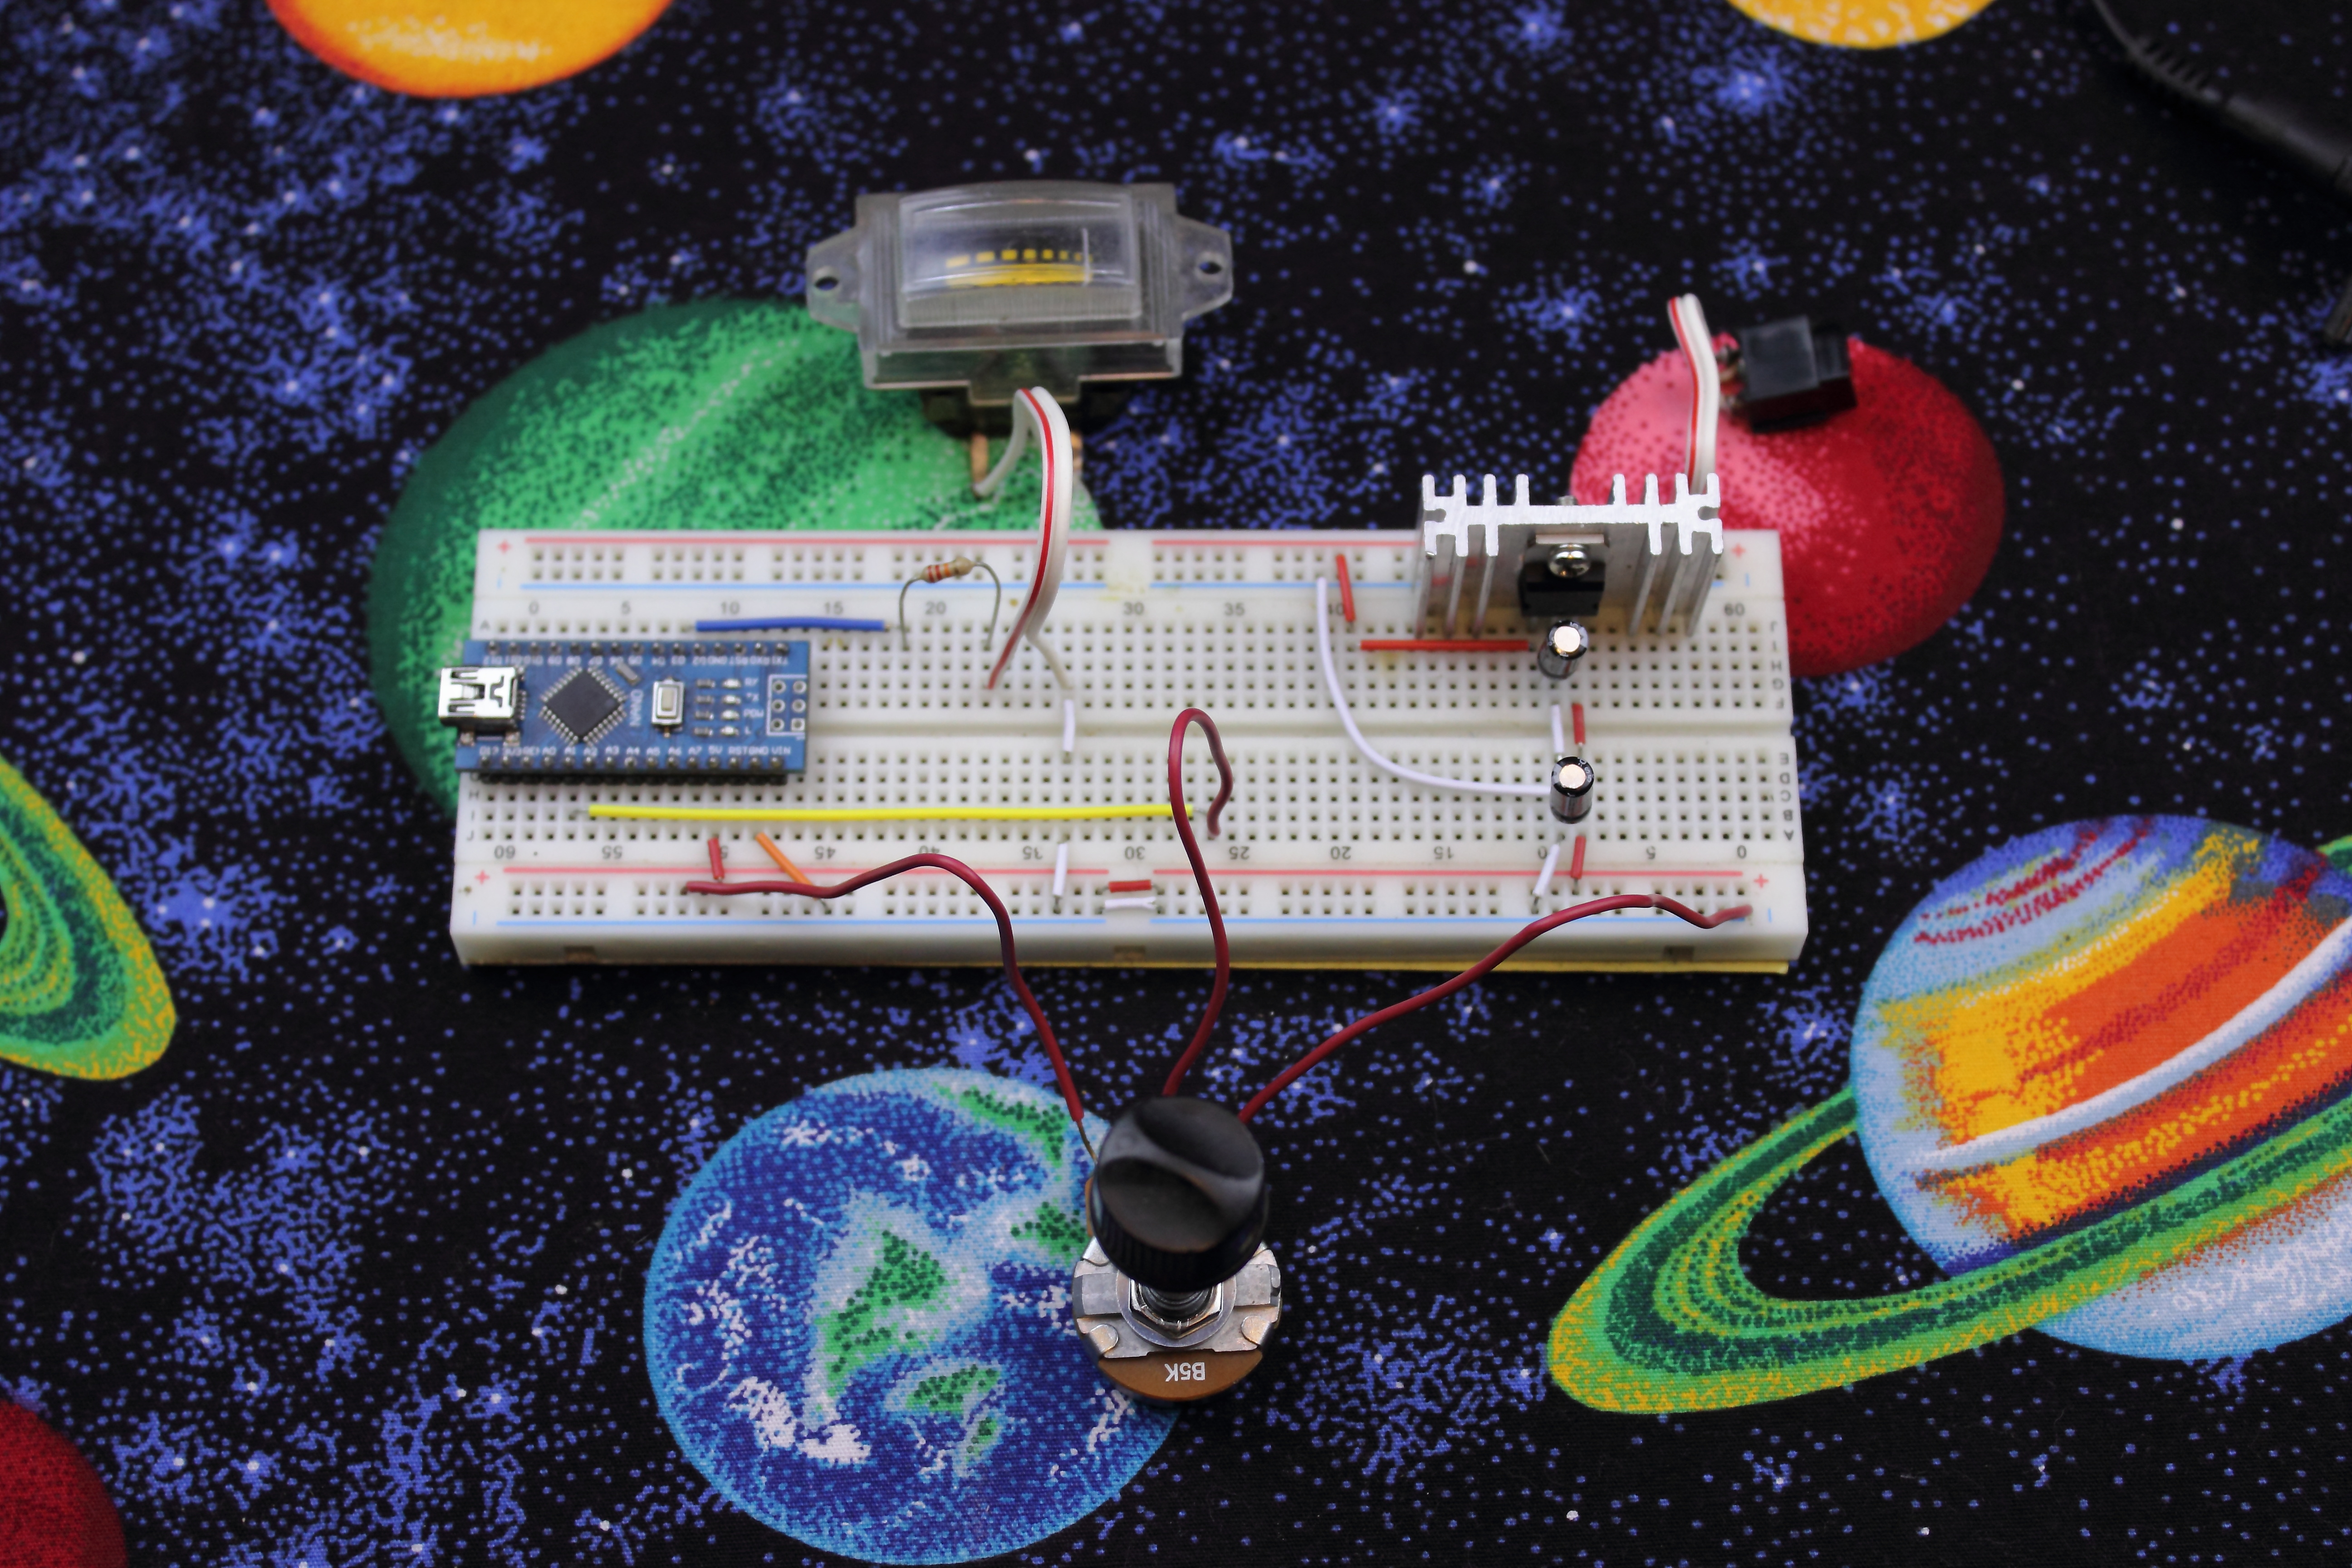
Analog gauges can be a cheap alternative to using a LCD screen when you dont need a 100% accurate read out of the value, The following tutorial will show you how to configure and use a analog meter gauge with your arduino project.
This tutorial will use a potentiometer to send a reading to the ARDUINO board and then a representation of the value will be shown on the analog meter, you could also use a photo resistor, photo transistor or any other component that will put out A variable output to use to control something.
Check us out on Facebook!
Please watch the video below for a tutorial on how to use the meter with your arduino…..
Parts List:
#affiliate links#
ARDUINO IDE Sketch:
int meter = 3; //analog meter on pin 3
int pot = A1; // potentiometer on pin A1
int val; // value of potentiometer
void setup() {
}
void loop() {
val = analogRead(pot);
val /=4;
analogWrite(meter, val);
delay(50);
}


