
Camera sliders can be a fun addition to your camera kit but they can be expensive if you want a motorized one, In this tutorial i will show you how to convert a old PC scanner into a motorized smart phone controlled camera slider with adjustable speed.
Please watch this video for a short description of how it works!
THE ANDROID APP:
I made this app to be simple and straight forward so I don’t think any description of how to use it will be needed, Just click the link bellow to down load it and you will find that it is very simple to use. But if you want some info on how to use it I will make a short video tutorial and it can be found at this link… (LINK TO COME, VIDEO STILL PENDING)
Click here for the Android Camera Slider App
PARTS LIST:
#1. old PC scanner (one with a bipolar stepper motor, 4 wires. if it has 5 or more wires going to the stepper motor it will not work for this tutorial). see pictures further below for more info on stepper motors identification.
#affiliate links#
#2. ARDUINO board. (ARDUINO NANO is recommended)
#3. L298N Stepper Driver board.
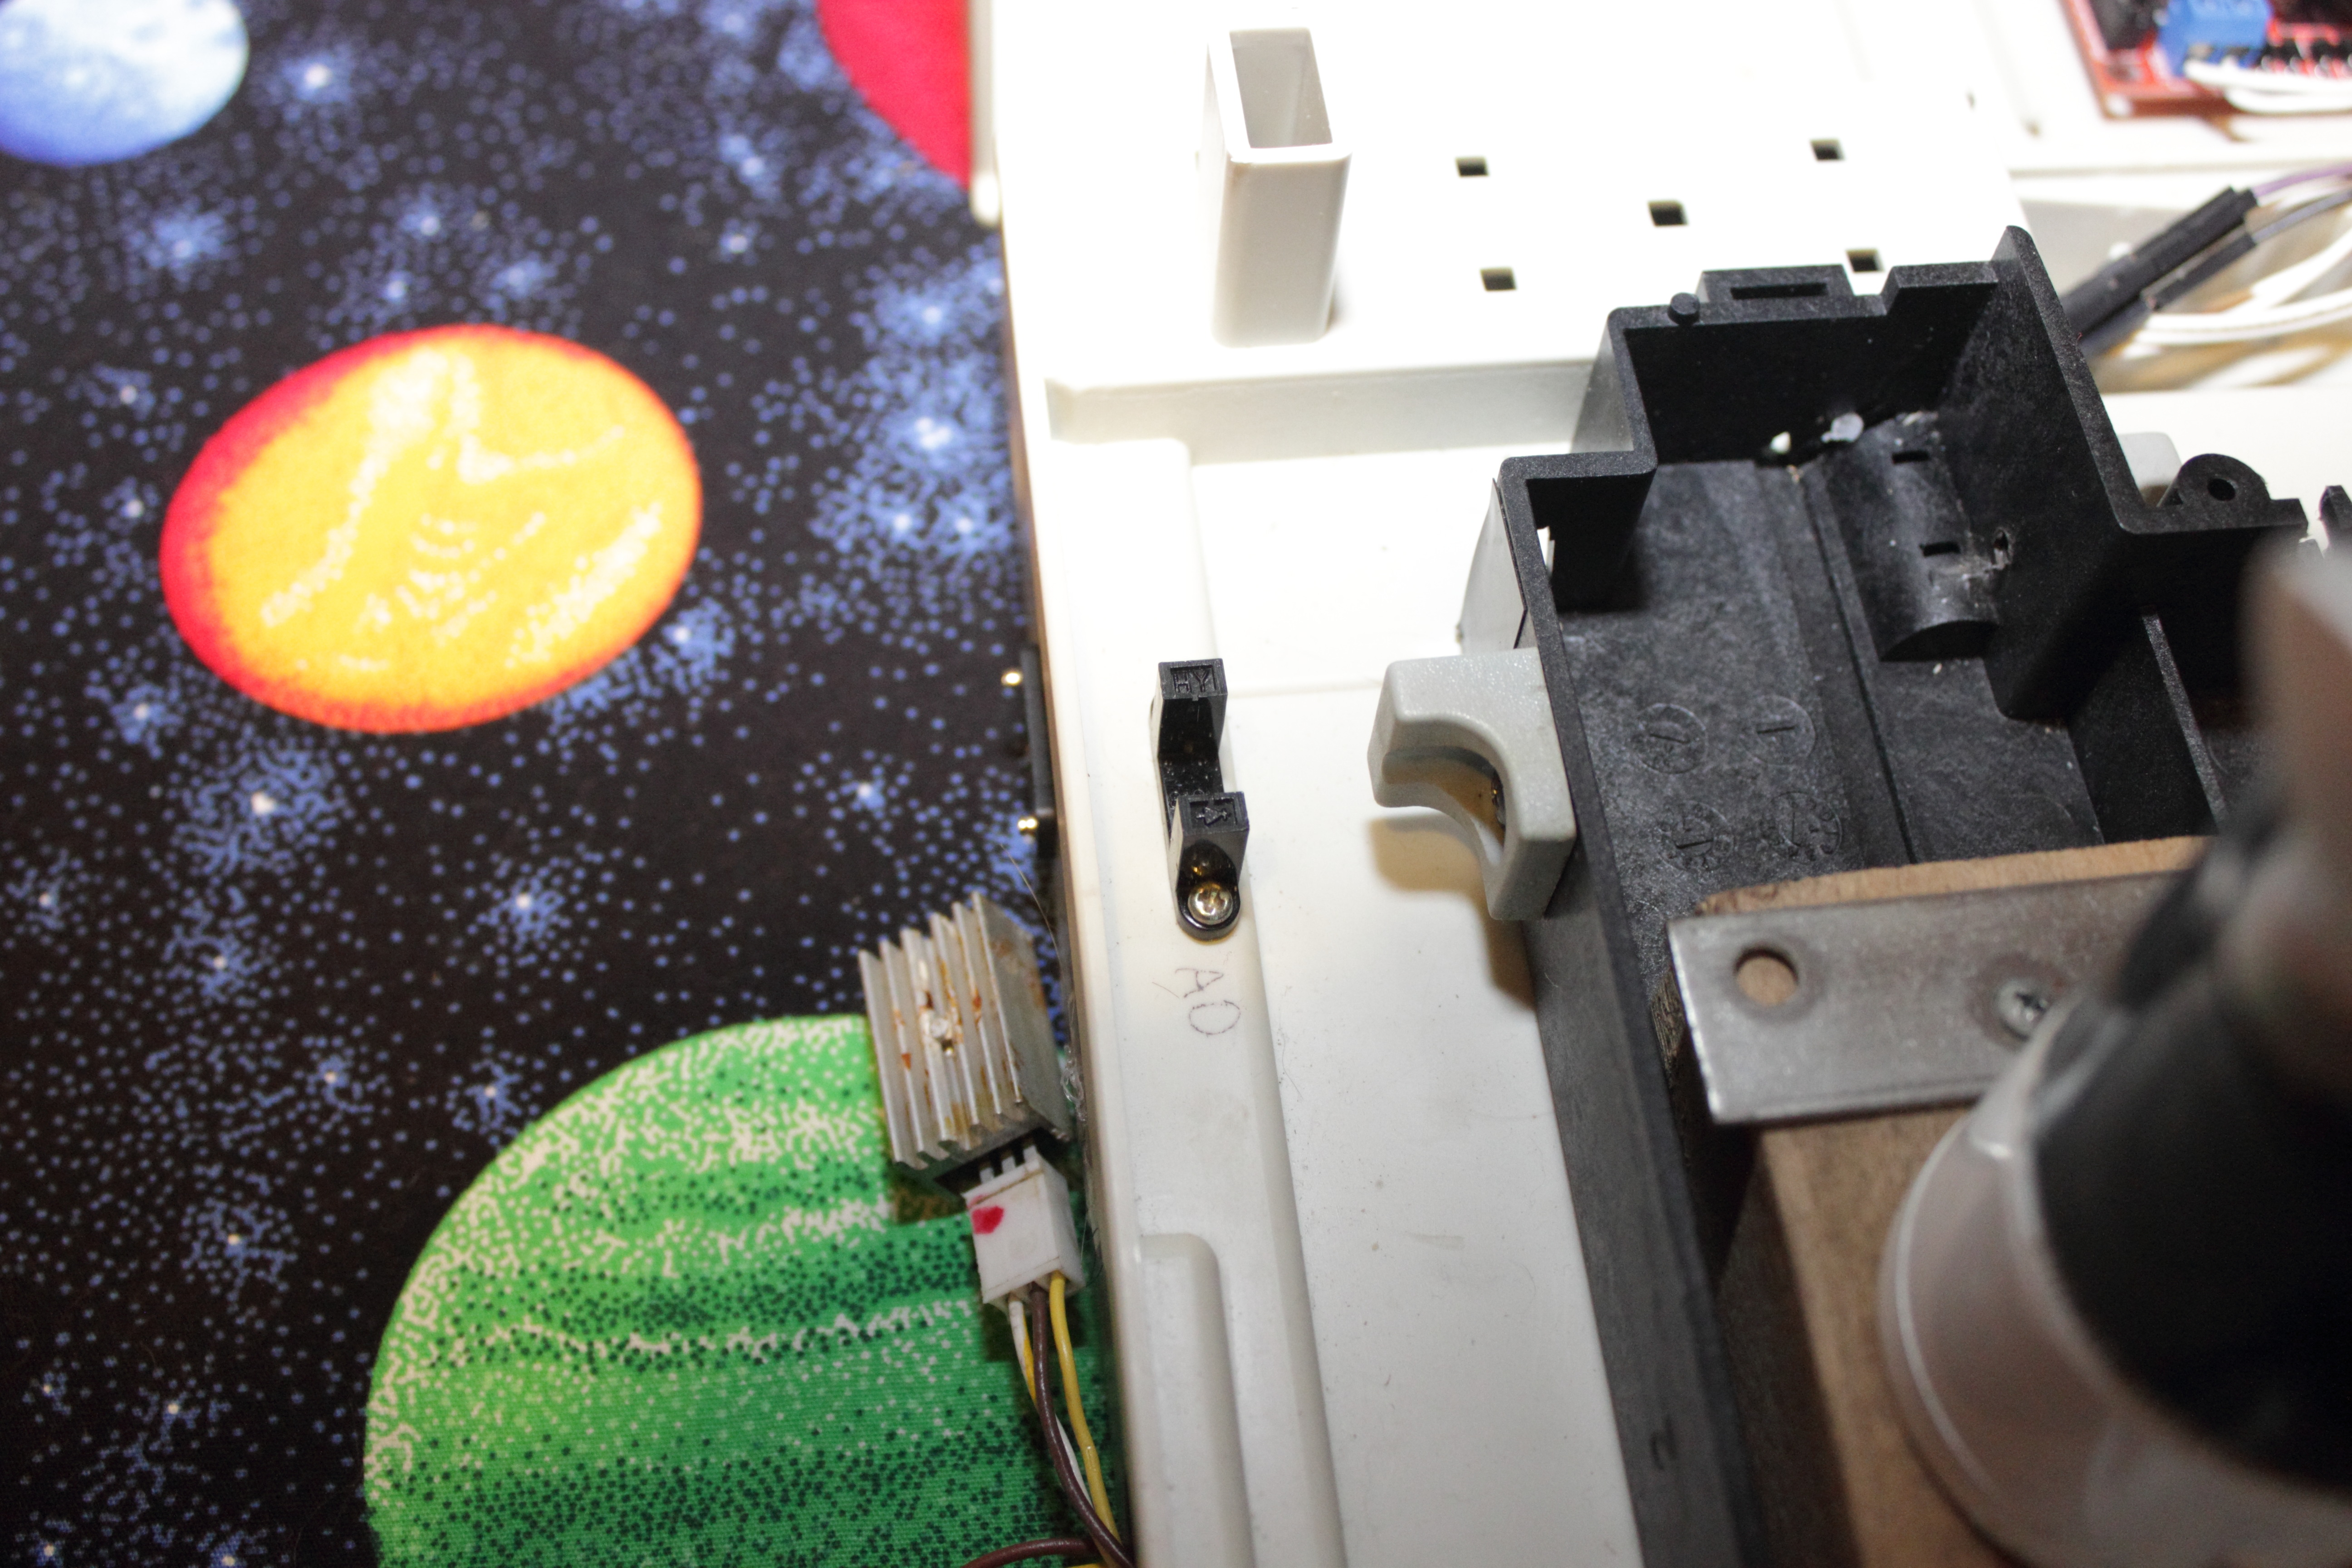
#5. 2X Photo interrupter (HY810H).
#6. L7805CV Voltage Regulator.
#9. 5KΩ resistor.
#10. 10kΩ resistor.
#11. 9 or 12 volt power source. (Battery or Wall Wort)
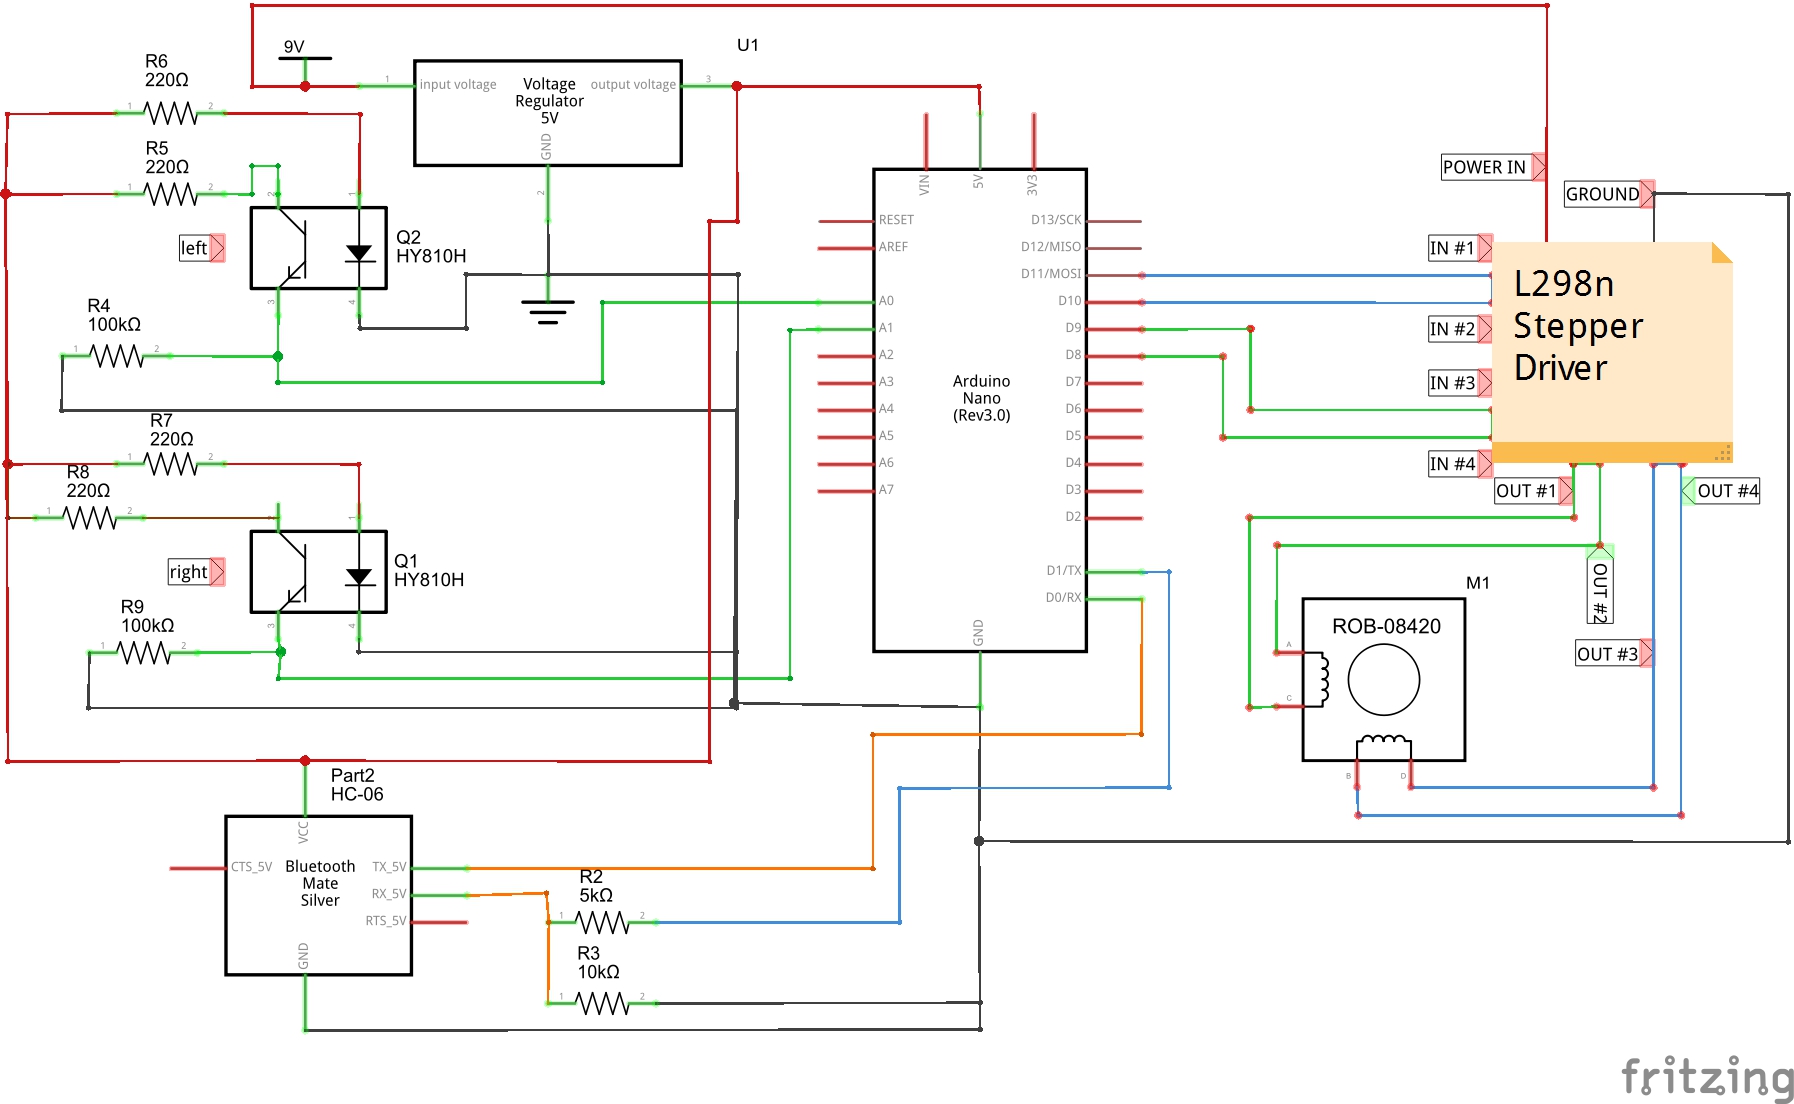
THE SCHEMATIC:
Now for the building of the circuit look at the schematic below, I recommend printing it out. when you are ready to start building go to the video below…
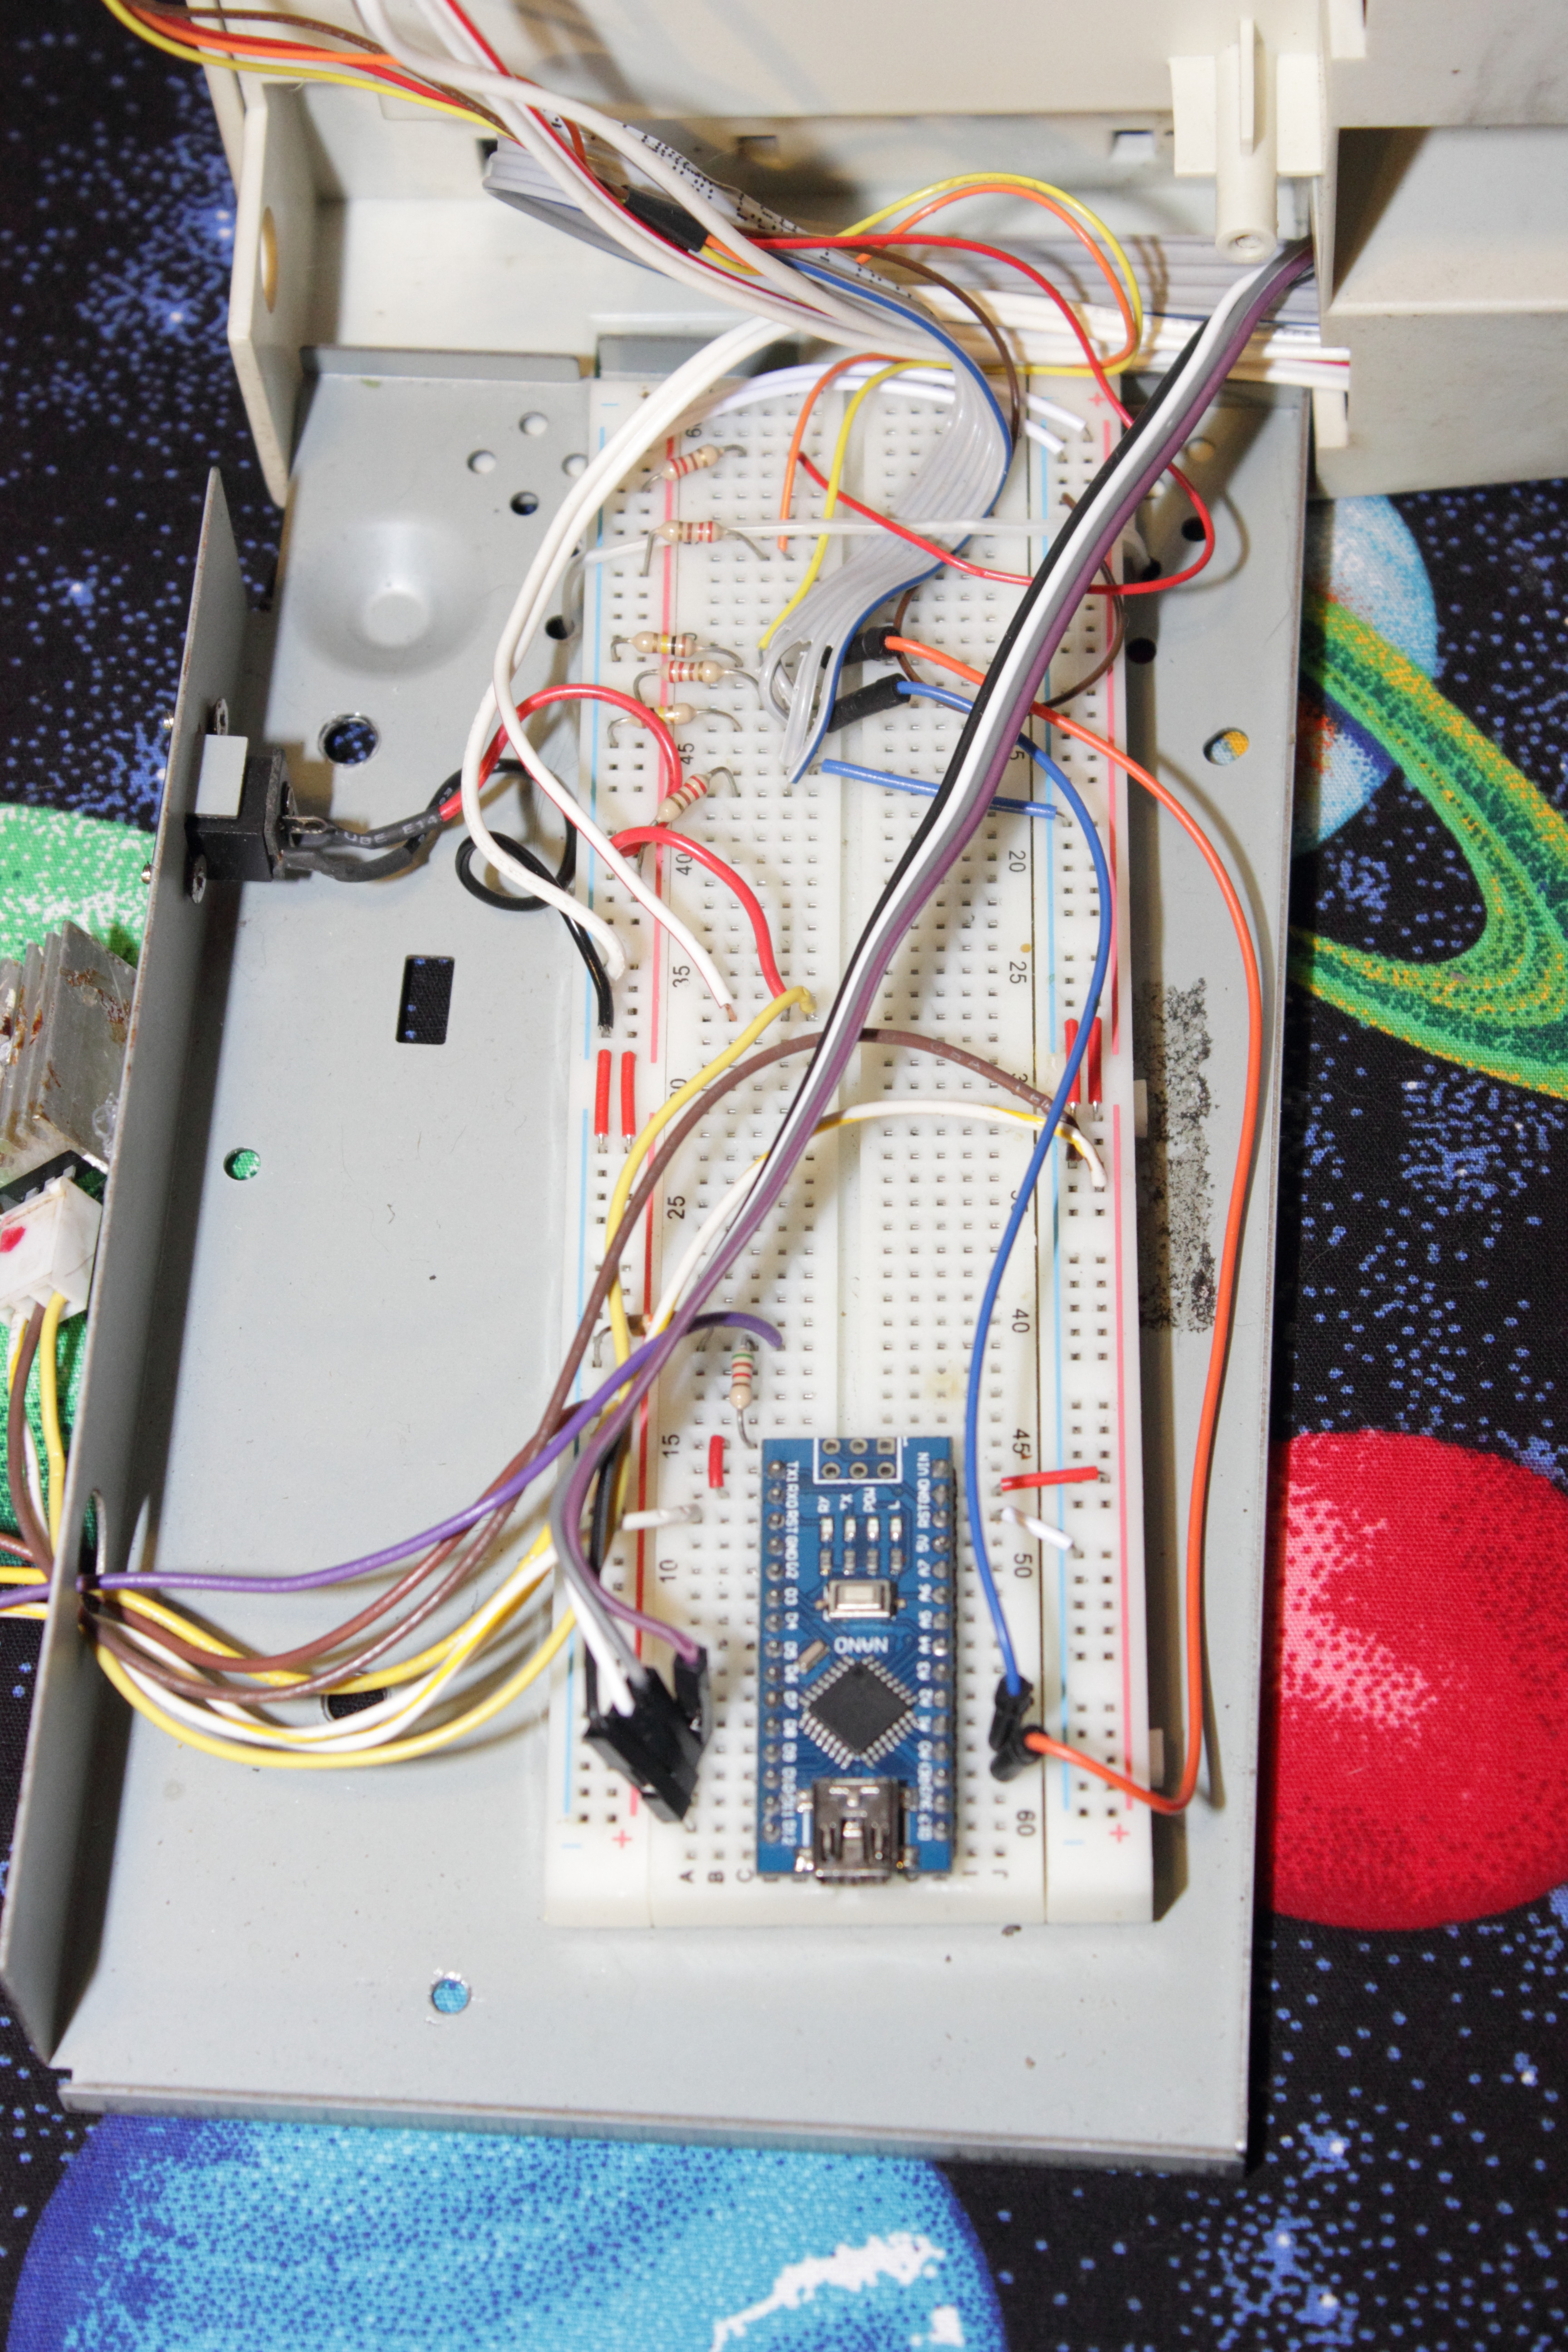
Constructing the circuit:
Please watch this video for info on building the camera slider!
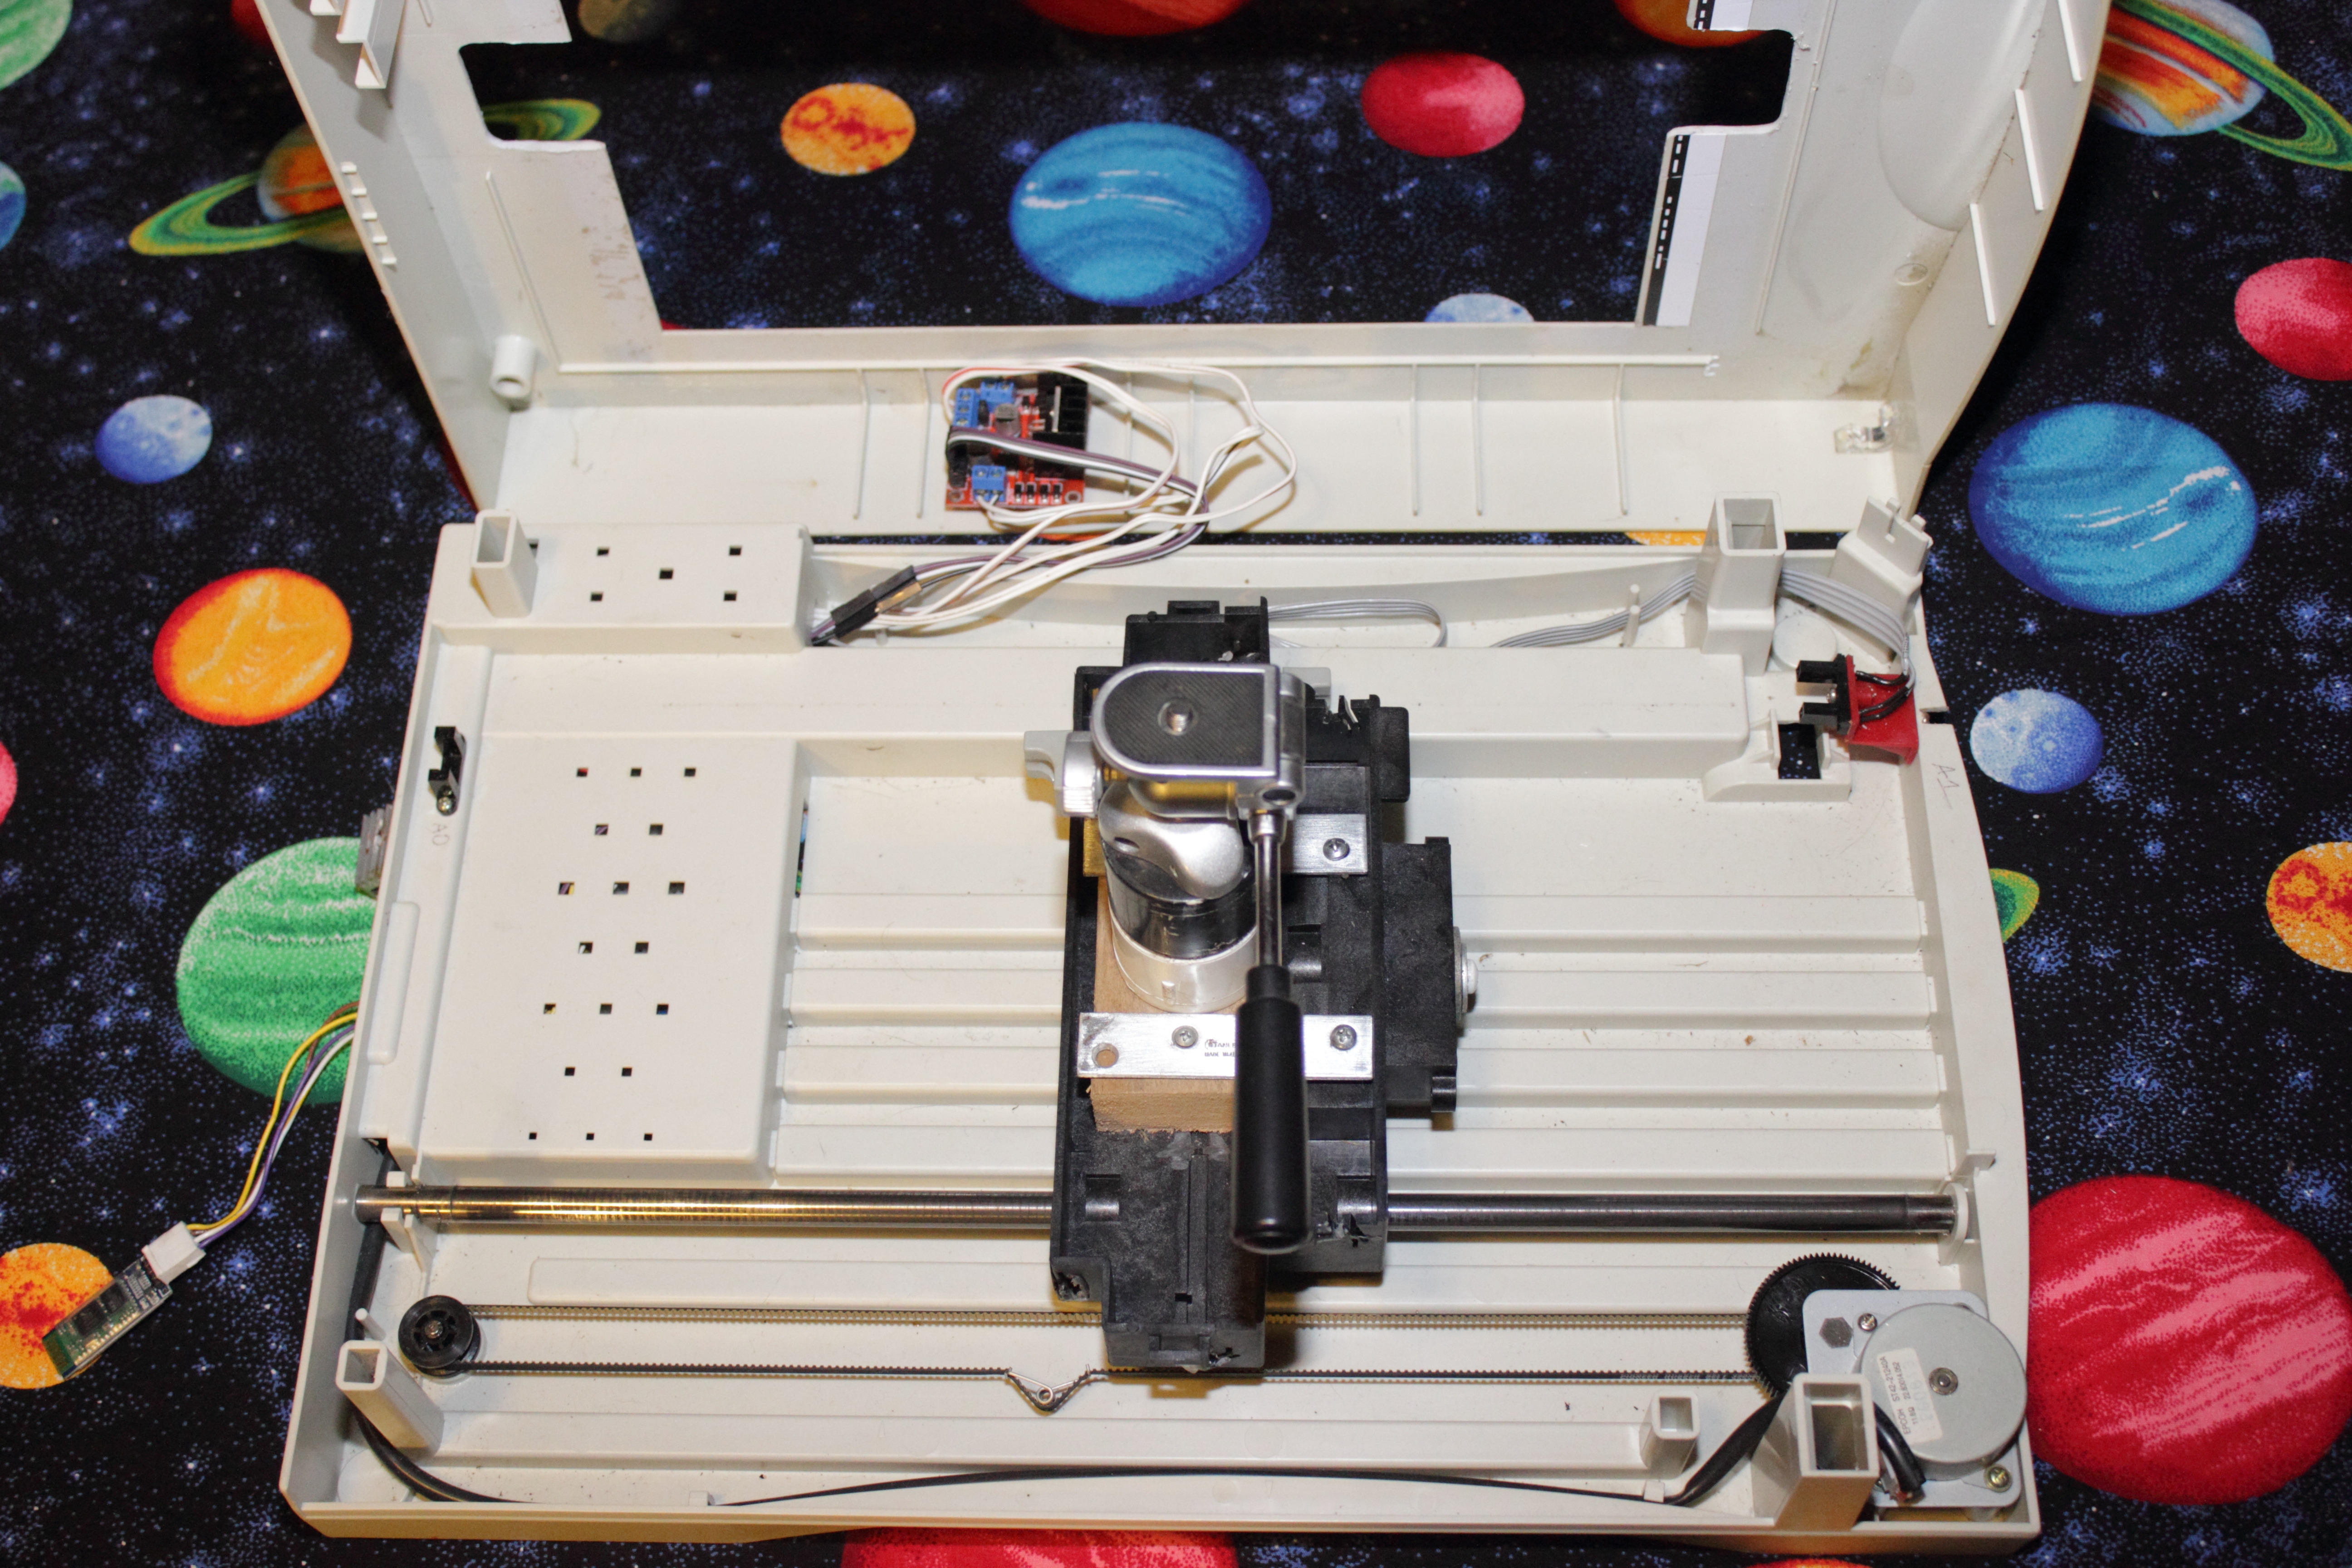
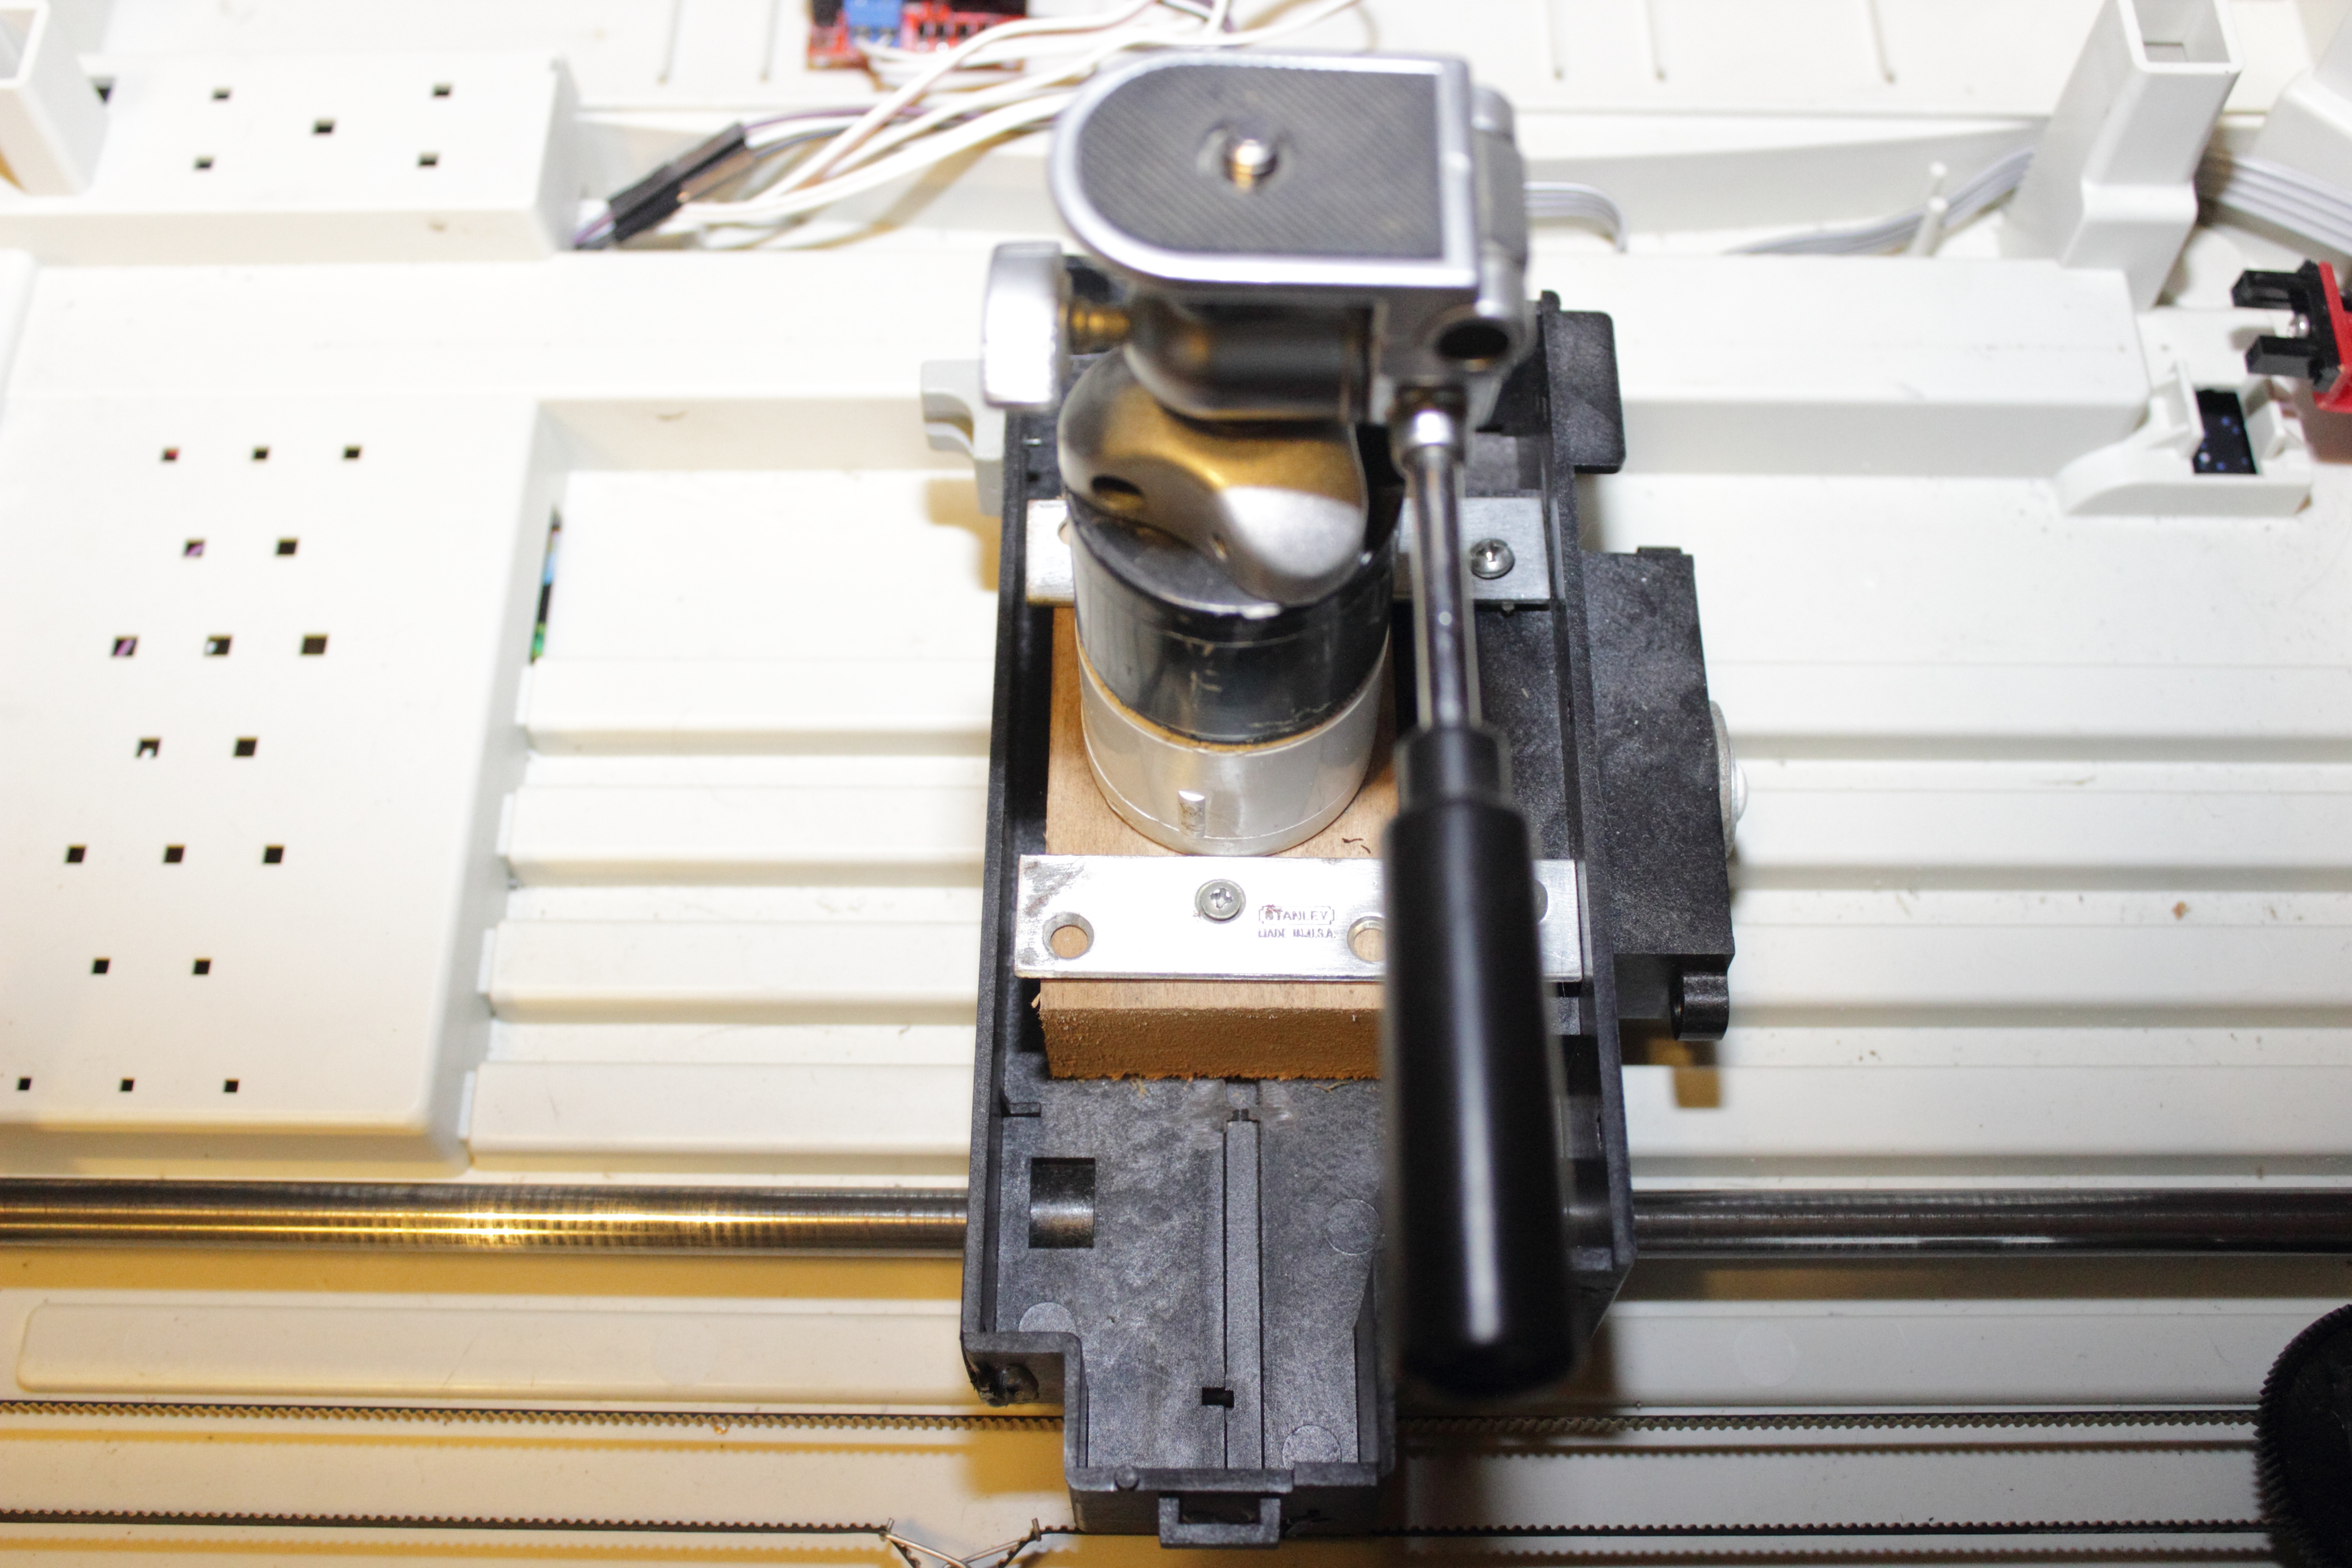
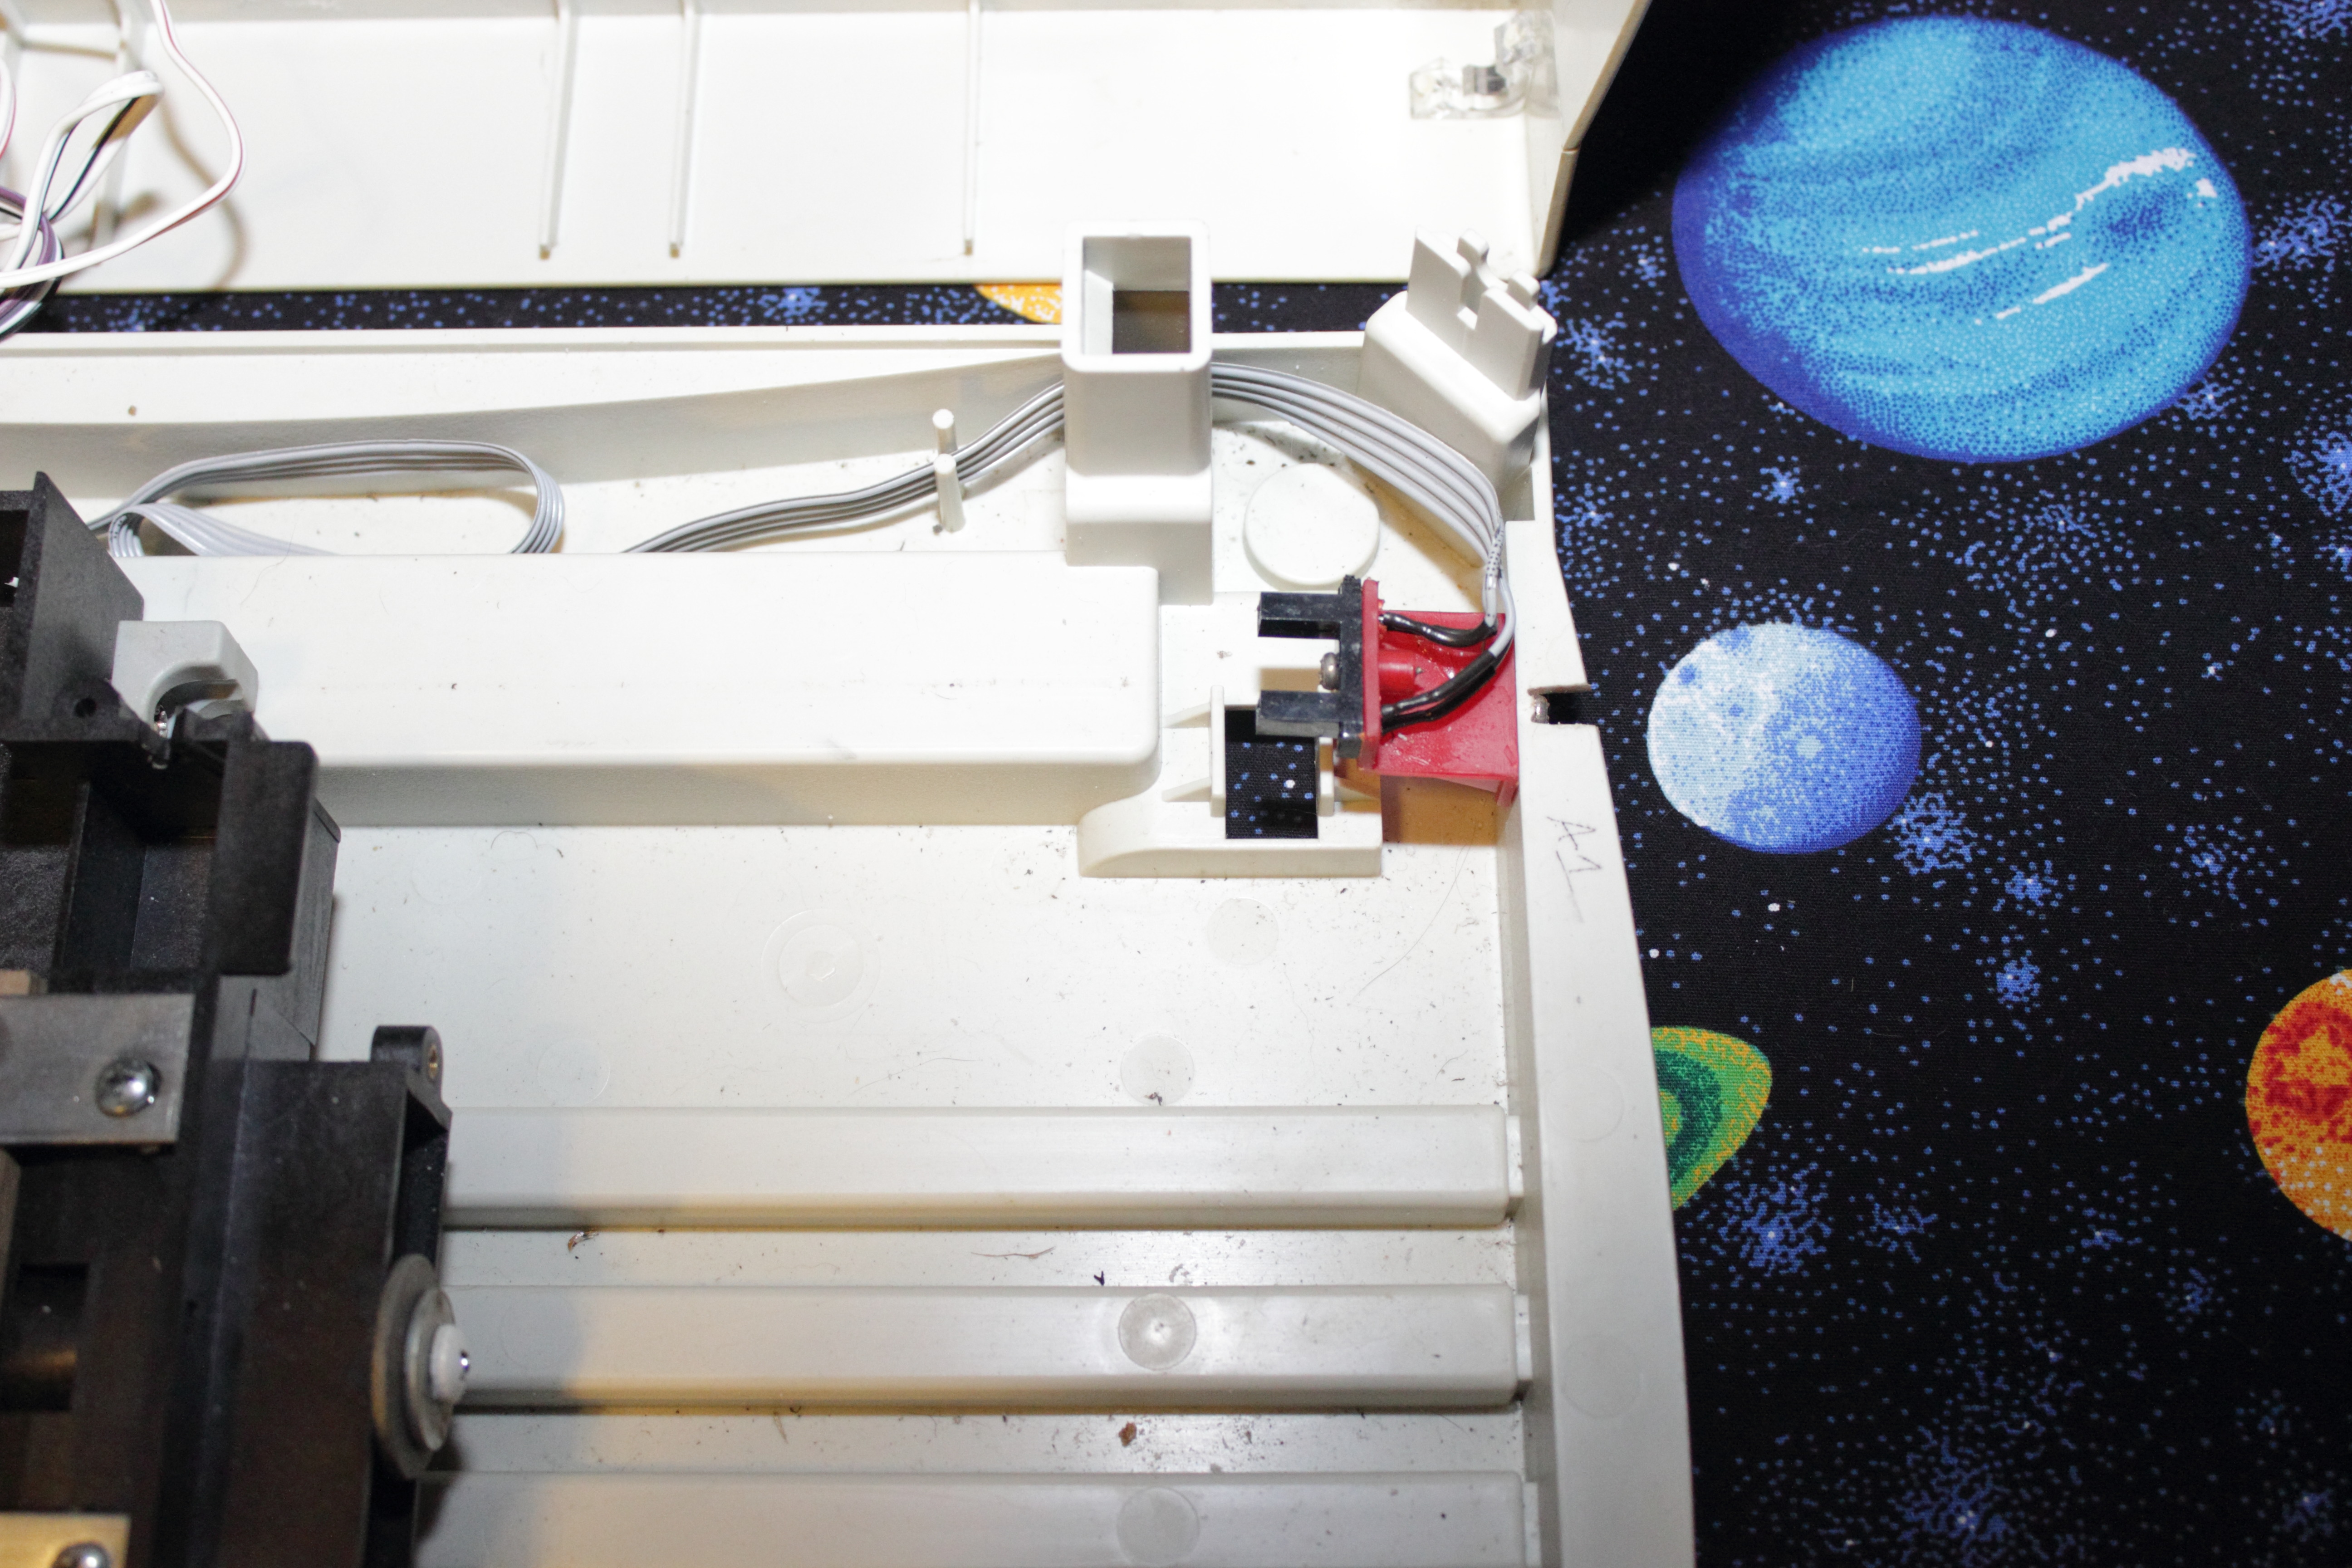
Pictures of the camera slider:

CODE for ARDUINO board:
copy and past the code below into your arduino IDE or click the link below to download the sketch…
If you have trouble with the bed not moving right try different settings of the speed (spd in the sketch)…. different scanner beds might need different speed settings!!!
—————————————————————————————————-
//arduino code
#include <Stepper.h>
const int stepsPerRevolution = 200;
int spd = 60;
Stepper myStepper(200, 8, 9, 10, 11);
void setup() {
myStepper.setSpeed(60);
Serial.begin(9600);
}
void loop() {
if (Serial.available() >= 2 )
{
unsigned int a = Serial.read();
unsigned int b = Serial.read();
unsigned int val = (b * 256) + a;
if (val == 1)
{
spd = 50;
myStepper.setSpeed(spd);
}
else if (val == 2)
{
spd = 60;
myStepper.setSpeed(spd);
}
else if (val == 3)
{
spd = 70;
myStepper.setSpeed(spd);
}
else if (val == 4)
{
spd = 80;
myStepper.setSpeed(spd);
}
else if (val == 5)
{
spd = 90;
myStepper.setSpeed(spd);
}
else if (val == 6)
{
spd = 100;
myStepper.setSpeed(spd);
}
else if (val == 7)
{
spd = 110;
myStepper.setSpeed(spd);
}
else if (val == 8)
{
spd = 120;
myStepper.setSpeed(spd);
}
else if (val == 9)
{
spd = 130;
myStepper.setSpeed(spd);
}
else if (val == 10)
{
spd = 140;
myStepper.setSpeed(spd);
}
else if (val == 12)
{
while (analogRead(A1) > 700)
{
myStepper.step(1);
}
}
else if (val == 11)
{
while (analogRead(A0) > 700)
{
myStepper.step(-1);
}
}
}
}
If you have any questions please message me on facebook
please check us out and like us on facebook! to be notified when new content is added…..


